For this module we are tasked with creating textures for models in Maya. we would first start with creating simple textures then move on the learn how to bake and create maps such as normal maps.
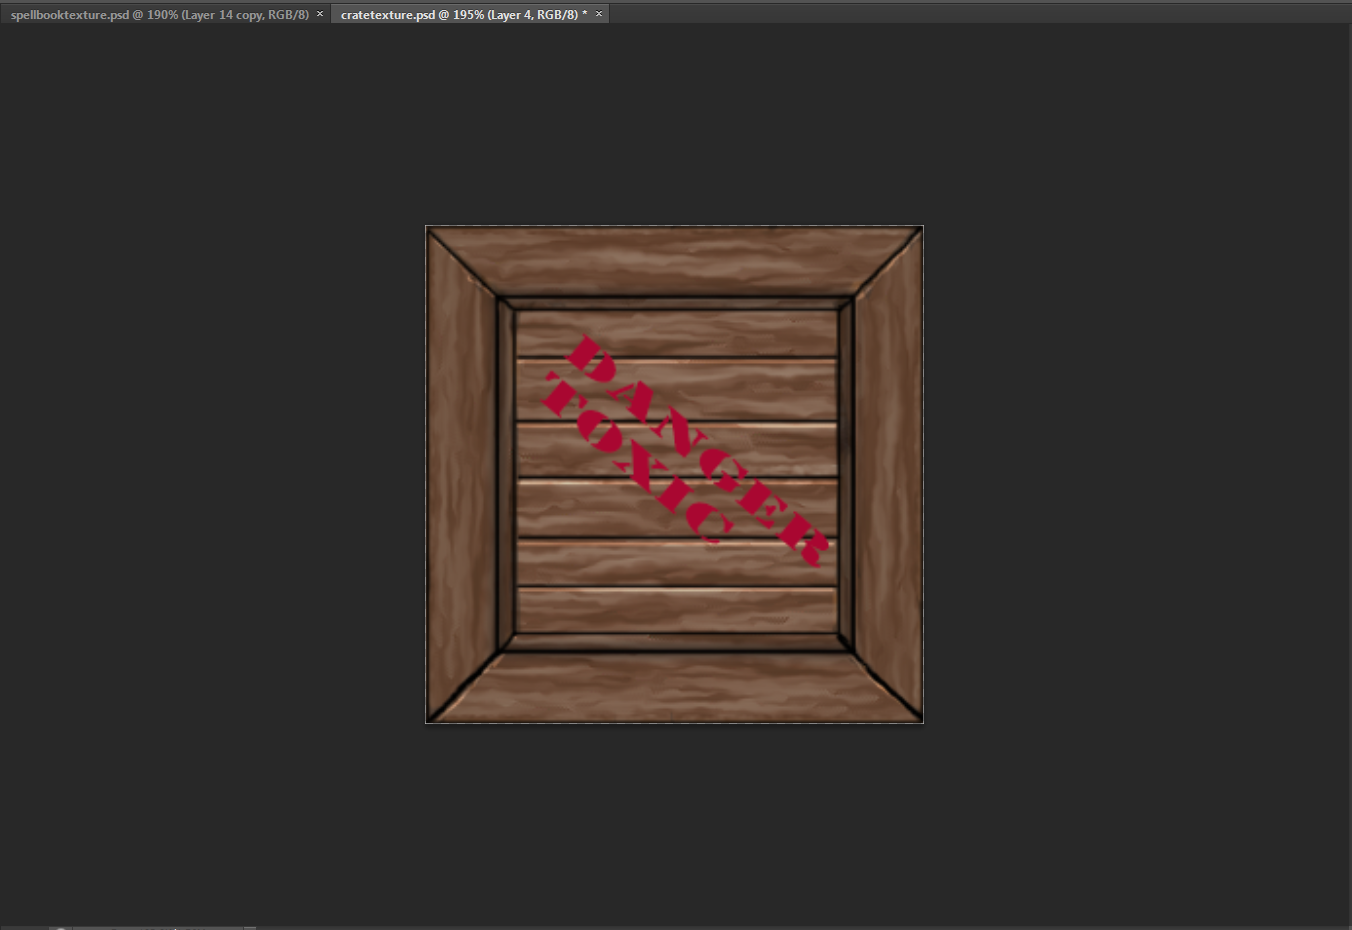
the first task of the module was the create a crate and texture it I first started of with creating the crate.
I started of with creating a plane and extruding it inwards to make a inner square like a crate.
I then duplicated the plane I made to create the crate. Using the vert snap tool I snapped together all the sides and grouped the object.
after this I unwrapped the crate and started creating the texture
I first started off with a brown texture and added lighter parts on another layer using the smude tool to make it look like wood. I then used the line tool to highlight parts of the crate such as the middle and sides to make it look more like a crate
After this I the added text to it to give it more detail Instead of it looking plain
After I had finished the crate I applied the texture to the model. I found that it turned out really well and am happy with the look of it.
the next texturing tasked we had to do was create a spell book.
I first started off by creating a book model
I then unwrapped it sand started texturing. first started off creating a leather texture by making a brown background and using the stained glass filter
 |
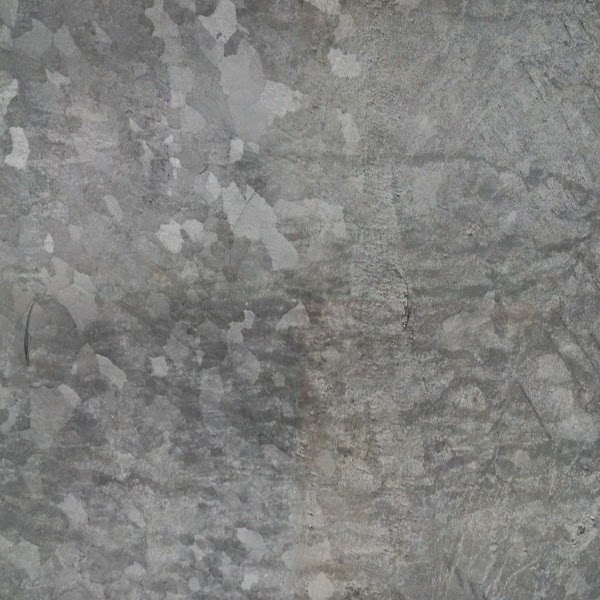
I then got a metal texture with loads of scratches and used the overlay in the layers to just show the scratchers, then I used the clone stamp tool to move them around. this would give it a rusted old worn look
after this I wanted to add a image to the front off the book and text. I found a tribal looking wolf and coloured it in to look gold, I then used the bevel and emboss tool to make it look like the image was in the book.
after I was happy with this I got some book page pictures and added them in to my texture
After I had done this I applied it to the model
Overall I am happy with the texture and have learnt that the overlay tool is handy when wanting to add scratches of wear to a object
Si-fi crate
the next thing we had to texture was a si-fi looking crate. the model introduced baking. what baking does it let you create a high poly object with lots of detail and put that detail from that object onto a low poly version without having a high poly count.
in order to bake i first had to unwrapped the low poly and line it up with the high poly. after this was done I went to transfer maps. the next step was to choose normal map and add the target mesh to the low poly and the source mesh to the high poly
aftet this was done i clicked bake, what this did was give me a normal map with the detai lof the high poly.
with this normal map my low poly will now show the detail of the high poly. after i had backed it i applied it to my low poly mesh
as you can see the low poly now looks like the high poly. the next step was to start texturing.
seeing as its meant to be sifi looking I started of with a base metal texture
I then used a gradient overlay. what this did was add a bit of nose to the metal texture and looked like it had bits of paint and rust on the base texture.
what I did next was look at the example crate to see were the best place colour on the crate would go. I decided I wanted it to look gold so i painted over the areas were I wanted colour with a light brown colour. after this i set all the layers to multiply which made it so you can see all the detail on the crate. I then added a inner shadow which gave it a shine to made it look more gold.
after I was happy with the colour I felt it was still plain so what I did was add sifi looking text and a symbol like a company symbol so the crate would look like it was carrying supplies. I used the bevel and emboss tool to make it look like the symbols have been baked into the texture and go inwards.
after I had did that i wanted to add wear and tear to the crate. how i did this was getting a metal texture with scratches on it and inverting them. doing this would only show the scratches. I then put it on a overlay layer over the texture.
with the scratch texture I took a arena and made it smaller a thinner, i then placed it around the handles and gaps of the crate. this would give it more of a wear and tear feel.
after the texture was done I put it on the model. I am happy with the way it turned out, the parts look gold and it looks si fi but I wanted to show more detail so I created a spec map. what this will do is give the texture a bit of a shine and show detail like the small scratches.
using the transfer maps tool I click on spec map. this gave me a plain white texture that would add gloss to the model.
s you can see it bring out the dents and makes the model look more rough and used.
marble texture
the next task is to create a si fi looking floor using a marble texture. the first thing i did was go and find a marble texture
once I put it into Photoshop. I then duplicated it and put it on a luminosity layer due to it not tiling well. I aslo chaged the size to 1024x1024 to make it more sqare
after i created the luminosity layer i looked like this
the colour looked a bit off in places so I went to the adjustment
tab and click on level and messed around
the next part was to create a tiling treadplate. I went a found a image of galvanised metal
doing the same thing i did with the marble texture I made the texture into 4 peices using the offset tool then created a luminosity layer above it
after I had done this I started to create the shape for the dents in the metal using the circle tool and the grid and using the median tool to smooth it.
I then used the grid to duplicate the dents and move them around
then rotated the layer 45 degress
I then inverted the colour and made a drop shadow to highlight around the shape
I then went and used the grid again to create lines at a 45 degree angle. the painted them part black and part yellow
I then got a scratched texture and a dirt texture and inverted the coulors, then i put the scratches on the yloow part and the dirt all over
after this was done i started using the line texture to create a pattern going down the middle
what i did was mirror one side of the floor, then create a pattern down the middle.
I now have painted that part grey and played around with the colour balance to make it more metal. I then started to work on the transparent grill.
I then put it in the alpha channel and saved it out as a diffuse. I then created a normal map for my middle material.
after this was done it was time to make the floor model in maya
unfortunately I couldn't get the lighting to work and show the pattern on the model. overall I think I did well but there's still some issues with tiling buy my diffuse and overall texture turned out good.
wooden door
the next thing I started on was the wooden door. firstly i got them meshes of the high poly and low poly.
using maya I started baking the door. I baked the handle speratly
after a few attepts at baking I decied to go with this map. next im going to eport this into xnormals and create a captivity map which will save time rather than doing a ao bake
I then began texturing. i used the texture I made for my crate to start of with
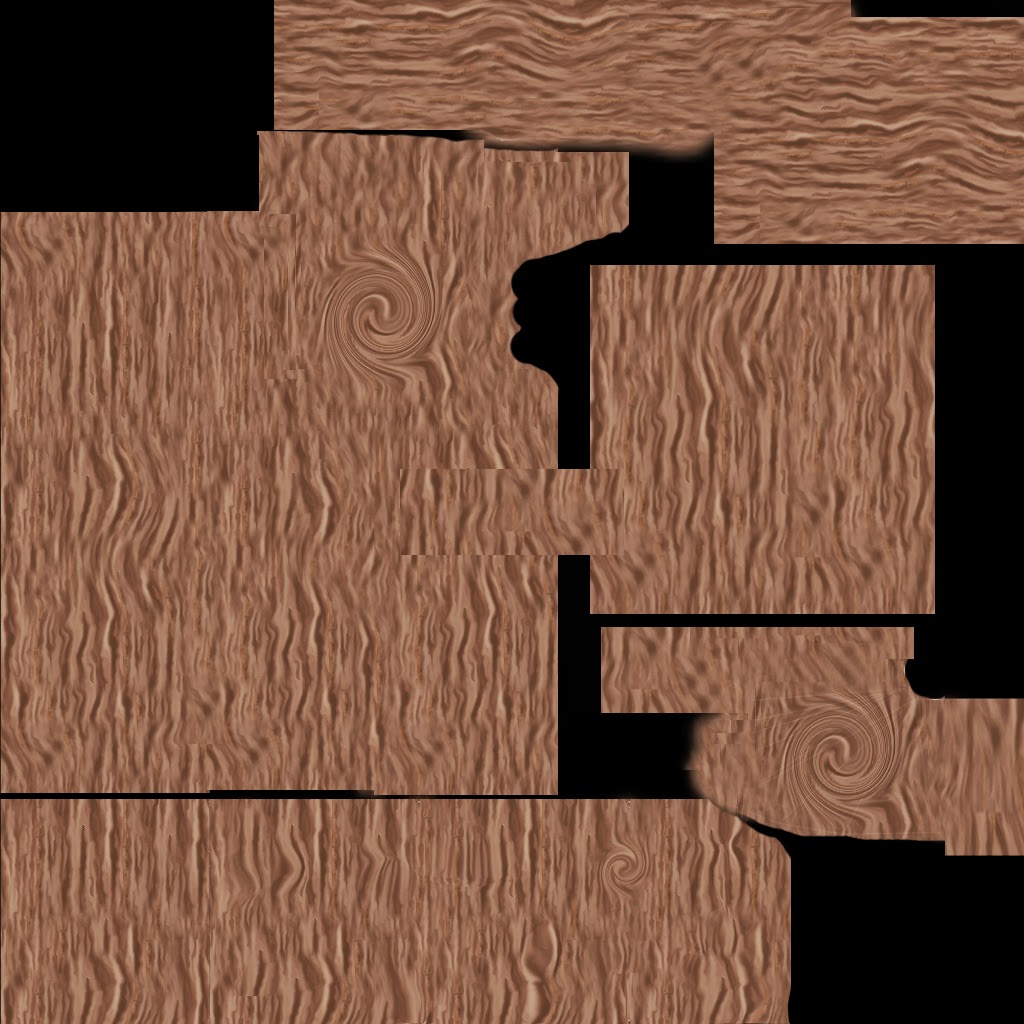
to improve the texture I first used the liqify tool to move around the flow of the wood instead of it all goign in one direction. using the same tool I then made swirls like you see in wood around my texture. after that I added a noise layer to make it look more woodish. with the lines I used the liqufy tool again to thin them then used bevel and emboss to look like there in the door.
the next part was to add a patern. I went to look at pattens.
I decided to use a few different ones for a different look. I went for big sides for the sides of the door and smaller ones leading to a sign. I then gave them a inner shadow to help show. I then got hinges and put them on. I then put the normal map together with the detail
ater this was done I put it all together on my model
I added a spec just to brighten it up
Cottage
the next task was to unwrap, bake and texture a cottage. with the image in the slideshow I can see what parts need unwrapping seeign as alot of it repeats. I started of with the sides of the house
once again i got my wood texture I created and started working on parts were there is wood such as the beams
I then created a brick texture to use as a base for the house which will continue around the cottage
for the walls I wanted them to be a bit bumpy so I took a picture of my walls in my room and played around with that
I would come back to the lights when i make a texture for the light. I then started on the beams going around the cottage.
I simply put the wood teature over the beams, using the liqiud tool I mad it swirl at the end of the beams like there twisting at the end.
I then added a celtic pattern to the side to break it up and look less plain, also made a normal map. the next part to tackle waas the entrance wall
with the front of the house I have kept the brick texture going round, with the windows i cut out a part of my brick texture and placed them around the window to make it look less plain
next part was the roof
with the roof I need ot unwrap 6 diffrent parts. I frist started of with the middle. I frist went and foudn a texture
https://www.google.co.uk/search?q=cottage+roof&es_sm=93&source=lnms&tbm=isch&sa=X&ei=VIZjU7LkIYmc0AXs74HICw&ved=0CAYQ_AUoAQ&biw=1600&bih=756#q=cottage+roof+texture&tbm=isch&facrc=_&imgdii=_&imgrc=5RS0KnUfqq-PjM%253A%3BOTKdeRdit0wFZM%3Bhttp%253A%252F%252Fwww.spiralgraphics.biz%252Fpacks%252Fbuilding_church_fortress%252Fpreviews%252FCathedral%2525201%252520-%252520Roof.jpg%3Bhttp%253A%252F%252Fwww.spiralgraphics.biz%252Fpacks%252Fbuilding_church_fortress%252Findex.htm%253F2%3B512%3B512
I didnt like my orginal texture so I went and had a look at cottage tiles and found this one to suit my cottage.
after I had textured the whole roof I created a normal which made the tiles pop out and look good and a spec for a shine
overall I'm happy with the way it turned out to look, I learned allot about normal mapping and creating your own textures instead of just getting them of Google. the issues I had were parts of the roof begin a bit light or not showing texture. the other issue is my door looks like its glowing and i cant find a way to stop it
Alien
The final task was to texture a alien head using z brush to paint on it and then bake it onto a lower poly version in Maya
I the first thing after looking round z brush was to import the high poly. I then when around and messed with the colours until I got a bast colour I wanted
I then played around with the brushes, I tried the colour spray tool which gave me this nice effect over my base colour, this would help add more detail. I then decided to add textures.
the first texture I imported was a liards skin. I was going to use the prjection but first just painted on the skign without it. this gave me a hard leather look and little bits of detail on the skin so I decided just to paint the middle of his face with it. I painted the same way for the top of this head and the jaw using a bone texture. I then started to get the idea that his face would be made out of hard materials and the back of his head would be a delicate crystal. with that idea I wwnt to find a crystal texture
I found a frozen lake that looked good so I used the pojection to paint
I ianted the crystal at the top of the head to show how the bone is protecting it. after that I went into the mask layer and inversted it. i then used the crystal texture to colour the cracks to look like the crystail runs through the face underneath. I used the same material for the head on the eyes to make them look crystal
for the teeth I made the gum look lit its made from crystal, masked the layer so the cavitys look like crystal. i then got a white crystal texture and put it on the teeth.
with the back I made the bone curve round the to crystal pat the back lower head was coloured in with the crystal texture so who it carrying on from the top of the head.the glands on the side have been painted without the projector to define them more seeing as there small
the next part was to bake it onto the low poly
I used x normals for the baking process by following the power point. before that I made a cage. what this is like the envolope in maya. after that went through I was happy with the final look
as you can see the eyes didnt come out properly so I went into photoshop to sort them out
overall I like the way my head turned out. if I had more time I would of added a more detail to the teeth and fixed the lines in his eyes.
this module has been really good, it has taught me alto about baking a texturing techniques and now i am able to use x normals for baking which is good.


